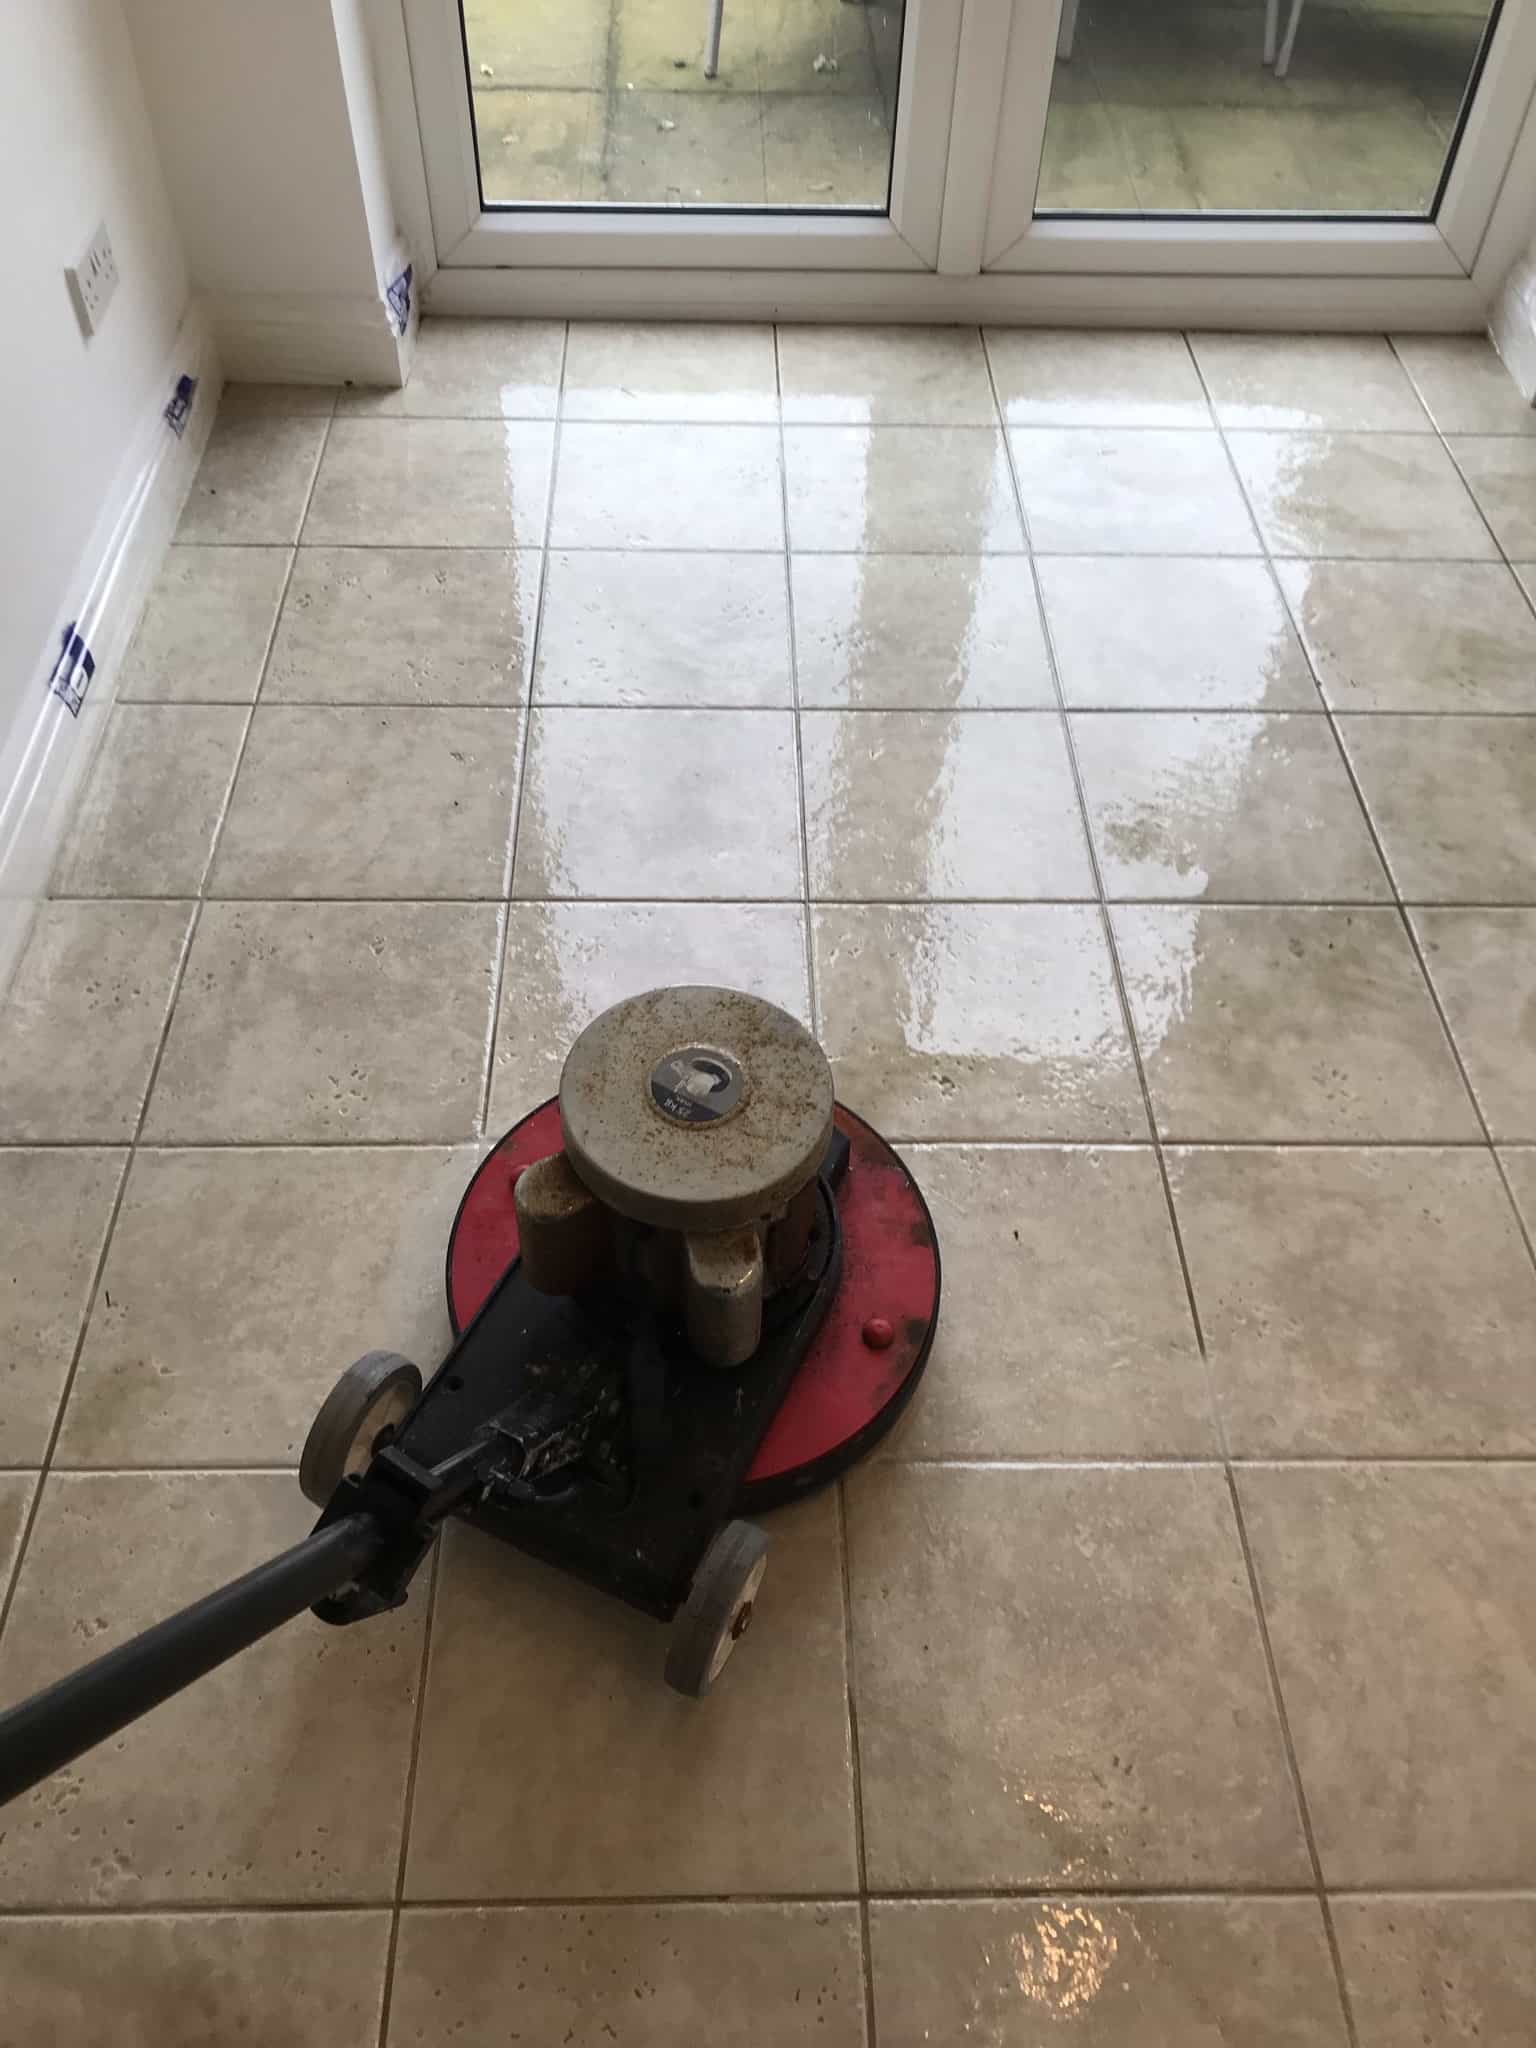
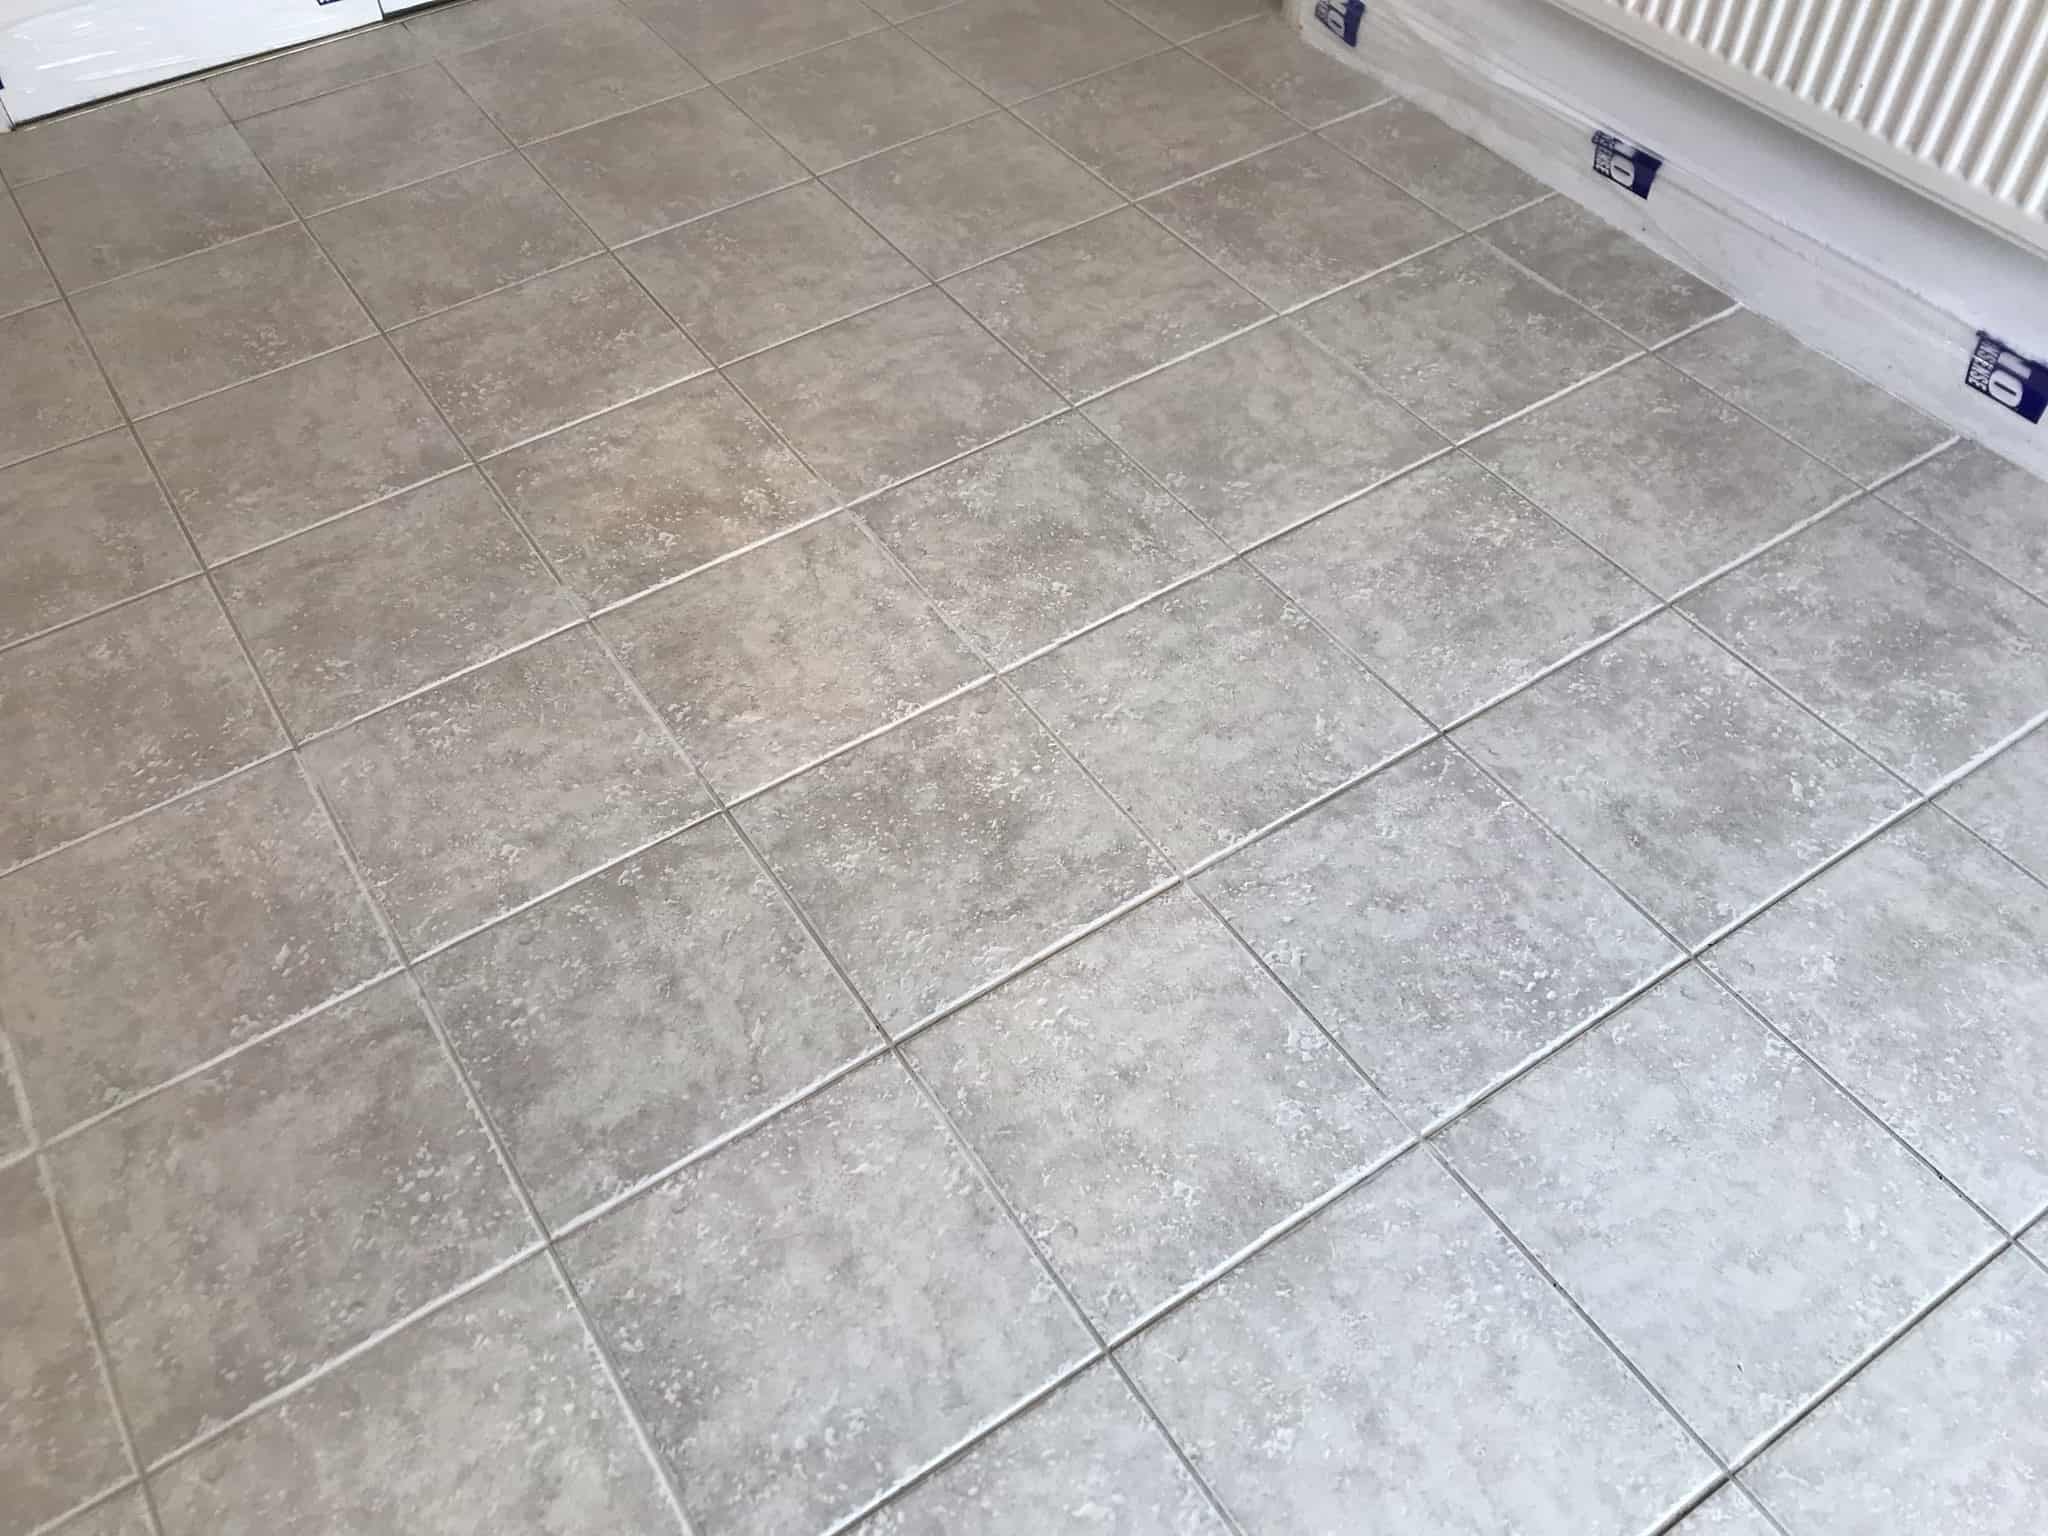
We were contacted by a property owner in Sidmouth near Exeter about their Textured Porcelain floor tiles in the kitchen and hallway which needed a deep clean. The tiles themselves were looking grubby and the grout had become stained and darker with ingrained dirt.

There was also a damaged tile that needed replacing which I was happy to do. We often get asked to replace tiles but we don’t really take on tiling work unless it’s part of a bigger renovation project.
I discussed with them the service we offered and gave them a price for the work, which they were happy to proceed with. We arranged a date to complete the work the following month.
Cleaning Textured Porcelain Hallway and Kitchen Floor Tiles
I started by removing all the kickboards from below the kitchen units and then running a bead of clear silicone sealant around the bases. We tend to use a lot of water when cleaning tiles and as most kitchen units are made from MDF we like to prevent any water becoming absorbed into the units. This will prevent them becoming warped by the water so it’s worth taking the time to remove or protect them. I also added protection around the skirting boards.
The cleaning process began by spraying Tile Doctor Remove & Go onto the floor, this is an alkaline cleaner designed to remove dirt and other coatings. I left it to soak in for 45 minutes before starting to work it in with a rotary buffer fitted with a black scrubbing pad. The long dwell time gives the product time to digest and loosen the ingrained dirt in the textured tile, dips, and grout lines.

After scrubbing the tiles, they were then rinsed with a small amount of water. I used a pressurised truck-mount water vacuum system fitted to my van to extract all the remaining soil and product from the floor.
With the soiling removed the floor was left to air dry (which took an hour or so) before neutralising the floor and removing old grout smears with a diluted acid rinse using Tile Doctor Grout Clean Up. After the rinse floor was given another rinse and once again the waste extracted using the truck-mount system.
After this treatment, the floor was looking so much better and I hadn’t finished.
Replacing a Porcelain Kitchen Tile
Returning the following day, the last step was to remove a broken tile and replace with a new matching tile the client had provided. I always recommend buying more tiles that you need and then keep those extras in the loft or something as you never know when they might come in handy.
To remove the broken tile, I stated by cutting though the grout lines separating it from its neighbours and then carefully breaking the tile up for with a hammer action drill fitted with a chisel bit. The bits of old tile were removed and what was left of the grout was removed using a small Grout-Out tool.
 |
 |
You have to be careful when doing this sort of work as many modern kitchen floors are installed with an electric heating matt which is easily destroyed when lifting a tile. In this case there was no matt under the tile but to my surprise the was another tile so it was clear that the tiler had simply tiled over an existing tiled floor. I hear this is a popular thing to do as a tiled floor usually makes a good base.
With the area cleaned up, it was simply a case of applying fresh rapid setting adhesive and fitting the new tile in place. Once the adhesive had set, I grouted using a lime colour Mapei Grout and the job was complete. Most Porcelain tiles are sealed in the factory so it was not necessary to apply one.

The result was a fresh and tidy Porcelain tiled floor with a marked improvement particularly on the grout lines and of course a very happy client.

Tile Doctor is the only Tile, Stone and Grout cleaning service in the UK on Trustpilot and with a 4.7 Star rating based on over 1,300 verified customer feedbacks, you can be certain you’re in good hands